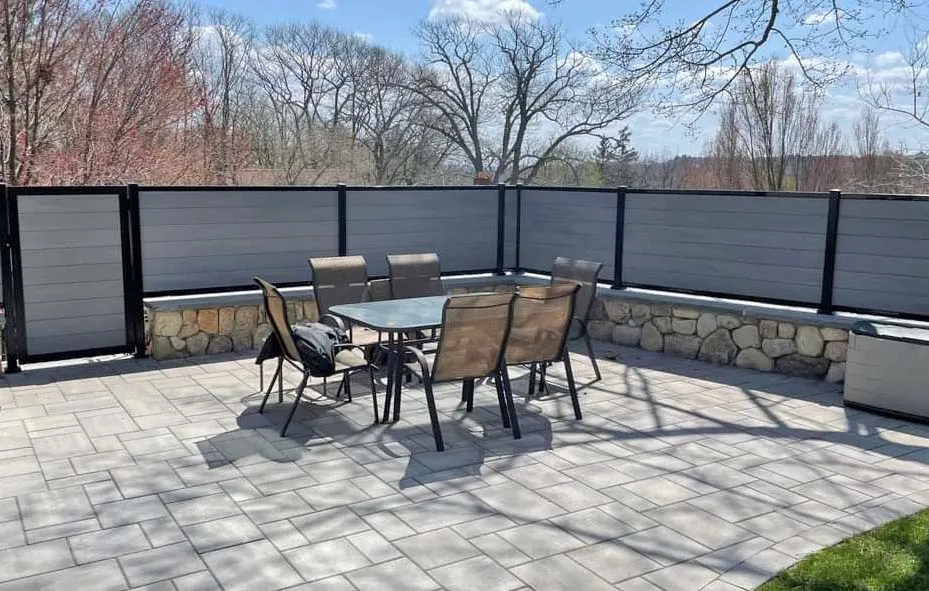
How to Install Composite Fence Panels | Step-by-Step Guide by Hulkwood
Installing a composite fence might seem complicated, but with Hulkwood’s modular fencing system, it’s easier than you think. Designed for quick assembly, long-lasting performance, and sleek aesthetics, our composite panels let homeowners and contractors achieve professional results in less time.
Follow this step-by-step guide to learn how to install your Hulkwood composite fence panels like a pro.
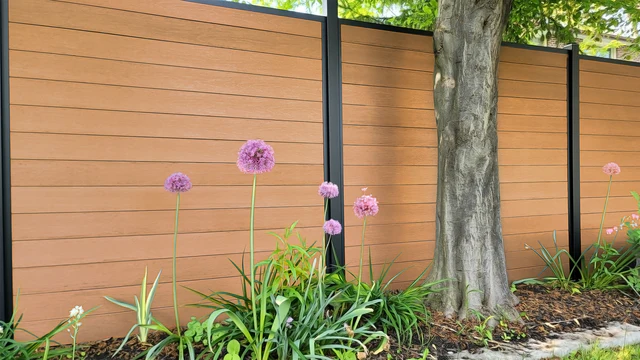
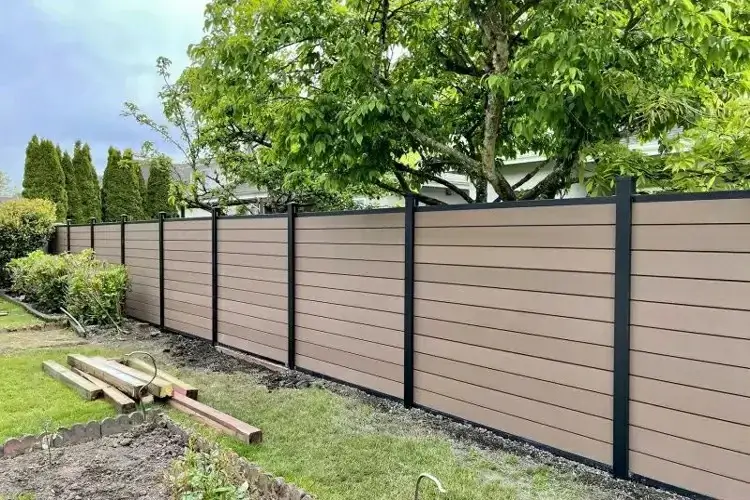
⚙️ Step 1 – Plan and Measure Your Fence Line
Start by marking your property boundaries and deciding where your fence will go.
Use wooden stakes and string to outline the path of your fence, then measure the total length to calculate how many panels, posts, and boards you’ll need.
👉 Pro Tip: Always double-check your local regulations or HOA rules before installation to confirm fence height and setback limits.
🧱 Step 2 – Prepare the Post Holes
Each Hulkwood composite fence system is built on a strong aluminum post structure.
Dig post holes about 24–36 inches deep (depending on frost line) and 8–10 inches wide.
Place gravel or crushed stone at the bottom for drainage.
Insert your aluminum post and fill with concrete to secure it upright.
Use a level to make sure each post is perfectly vertical.
Allow the concrete to cure for 24–48 hours before attaching your panels.
🔩 Step 3 – Install the Base Rails
Once your posts are solid, slide or screw the bottom rail between two posts. This creates the foundation that will hold your fence boards in place.
Ensure the base rail is level and secure, as this will define the alignment of your entire panel section.
🪵 Step 4 – Insert the Composite Boards
Now comes the satisfying part — inserting the Hulkwood composite boards.
Begin by sliding the first board into the bottom rail channel.
Stack each additional board one by one, ensuring they fit tightly together.
The interlocking design eliminates gaps, providing both privacy and wind resistance.
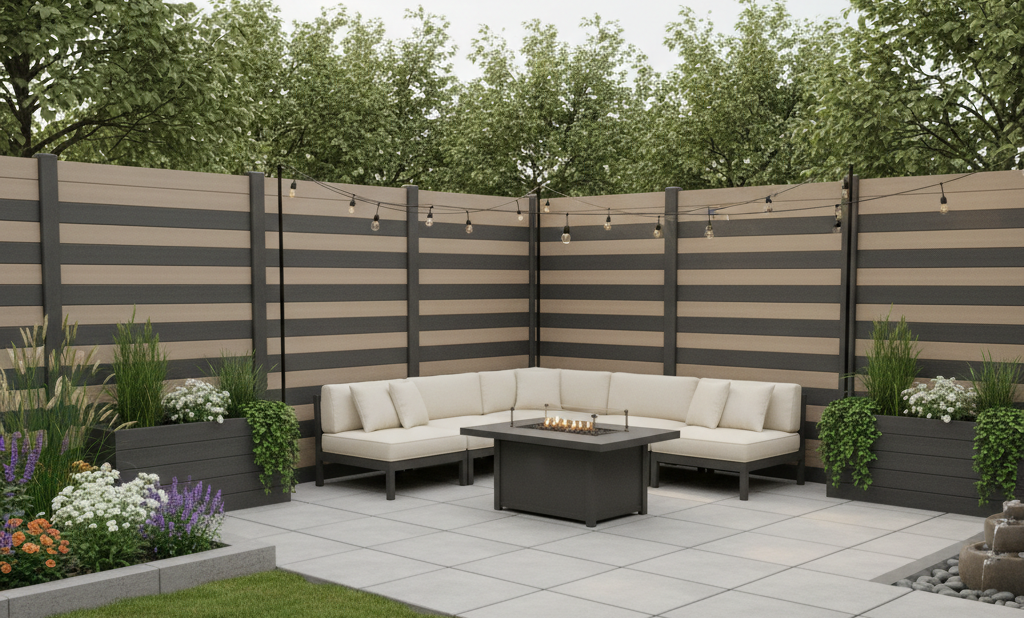
If you want to mix colors or patterns, you can alternate board shades for a unique design.
🔧 Step 5 – Install the Top Rail and Finishing Caps
Once all boards are in place:
Attach the top aluminum rail to lock your fence securely.
Add decorative caps or post trims for a finished look.
Hulkwood offers various cap styles — flat, pyramid, or LED-ready — to complement your outdoor design.
💧 Step 6 – Clean and Inspect
After the installation is complete, wipe down your boards with water and mild soap to remove dust or concrete residue.
Inspect all connections and make sure the panels are aligned, level, and firmly secured.
Congratulations — your Hulkwood composite fence is now ready to stand strong for decades!
#Hulkwood #CompositeFencing #FenceInstallation #DIYProjects #OutdoorDesign #ModernFencing #EcoFriendlyLiving #HomeImprovement #PrivacyFence #SustainableDesign
🏆 Why Choose Hulkwood Composite Fencing
No Rot, No Rust, No Maintenance
25-Year Warranty
UV, Moisture, and Scratch Resistant
Sustainable Materials Made from Recycled Wood & Plastic
Modern Design with Natural Wood Texture
With Hulkwood, you don’t just install a fence — you build a lasting, eco-friendly boundary that enhances your property’s privacy and beauty.
