Installing Composite Cladding: What You Should Know
Your essential guide to a smooth and successful installation.
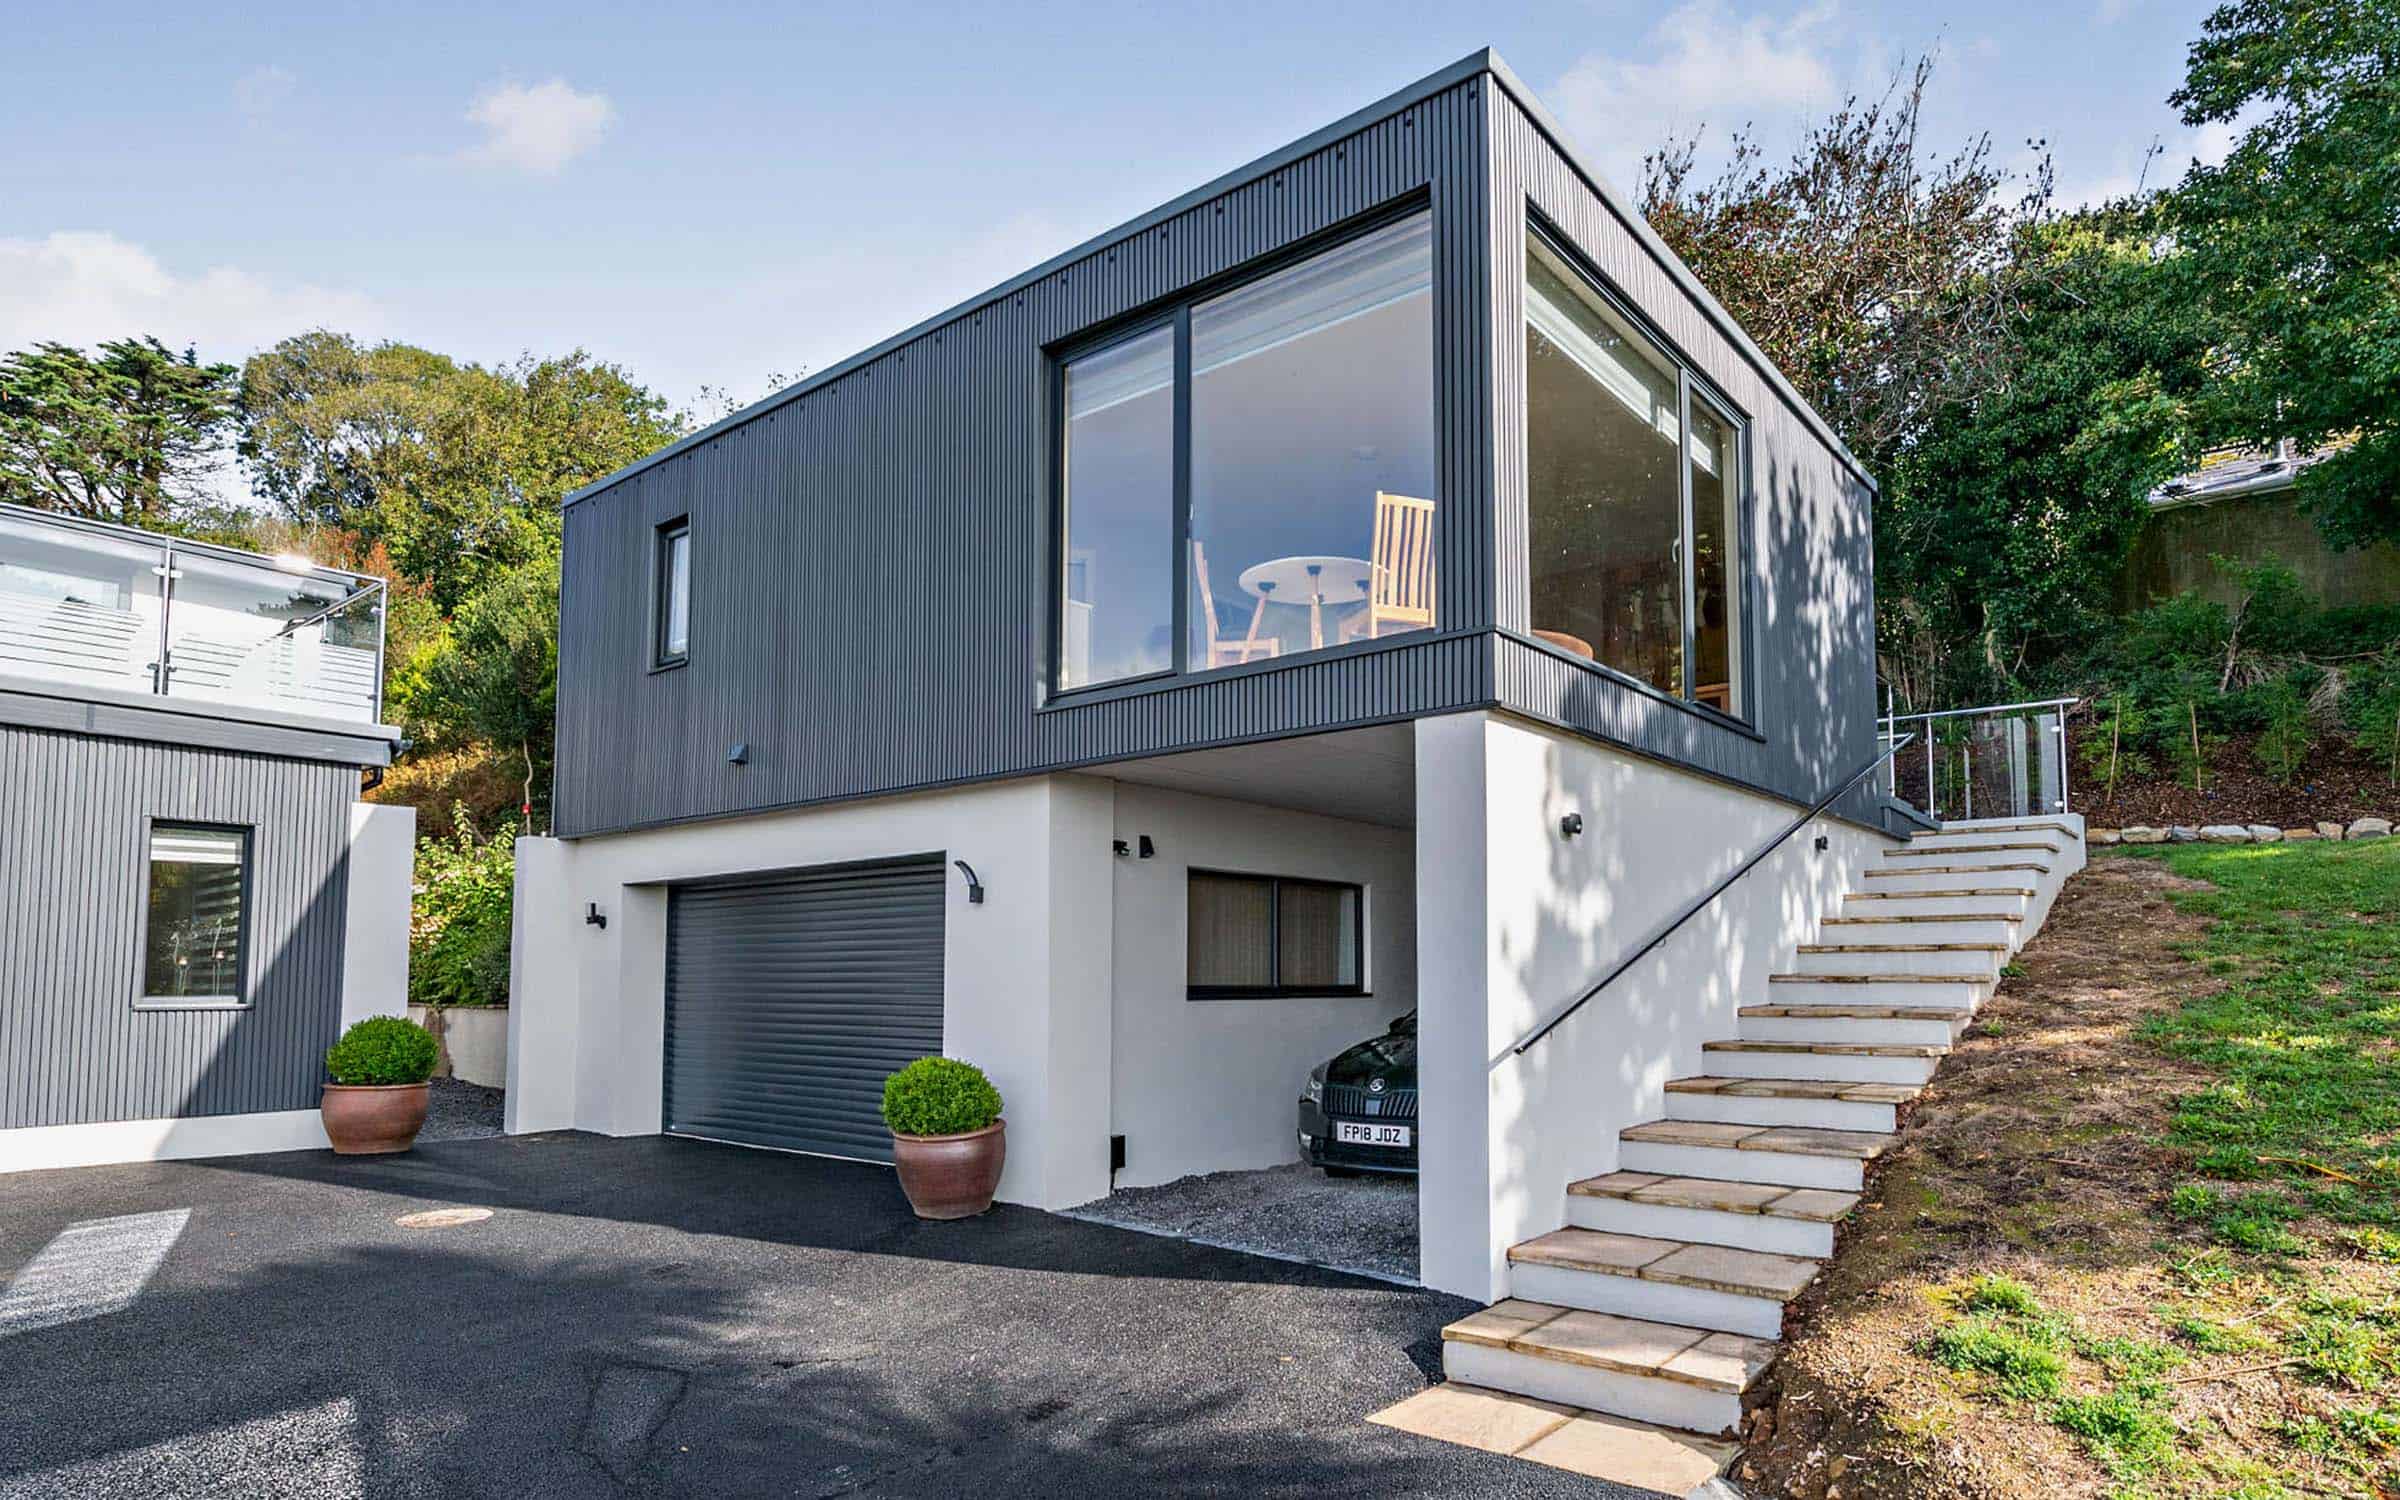
Composite cladding has become a popular choice for homeowners, builders, and designers looking for a durable, modern, and low-maintenance exterior finish. At Hulkwood, we supply high-quality composite cladding designed to elevate your property’s appearance while ensuring long-lasting performance.
If you’re planning to install composite cladding on your home or project, here’s everything you need to know before starting.
1. Understand the Benefits Before You Start
Before installation, make sure you’re aware of what composite cladding offers:
Weather resistance (rain, snow, UV rays)
Minimal maintenance
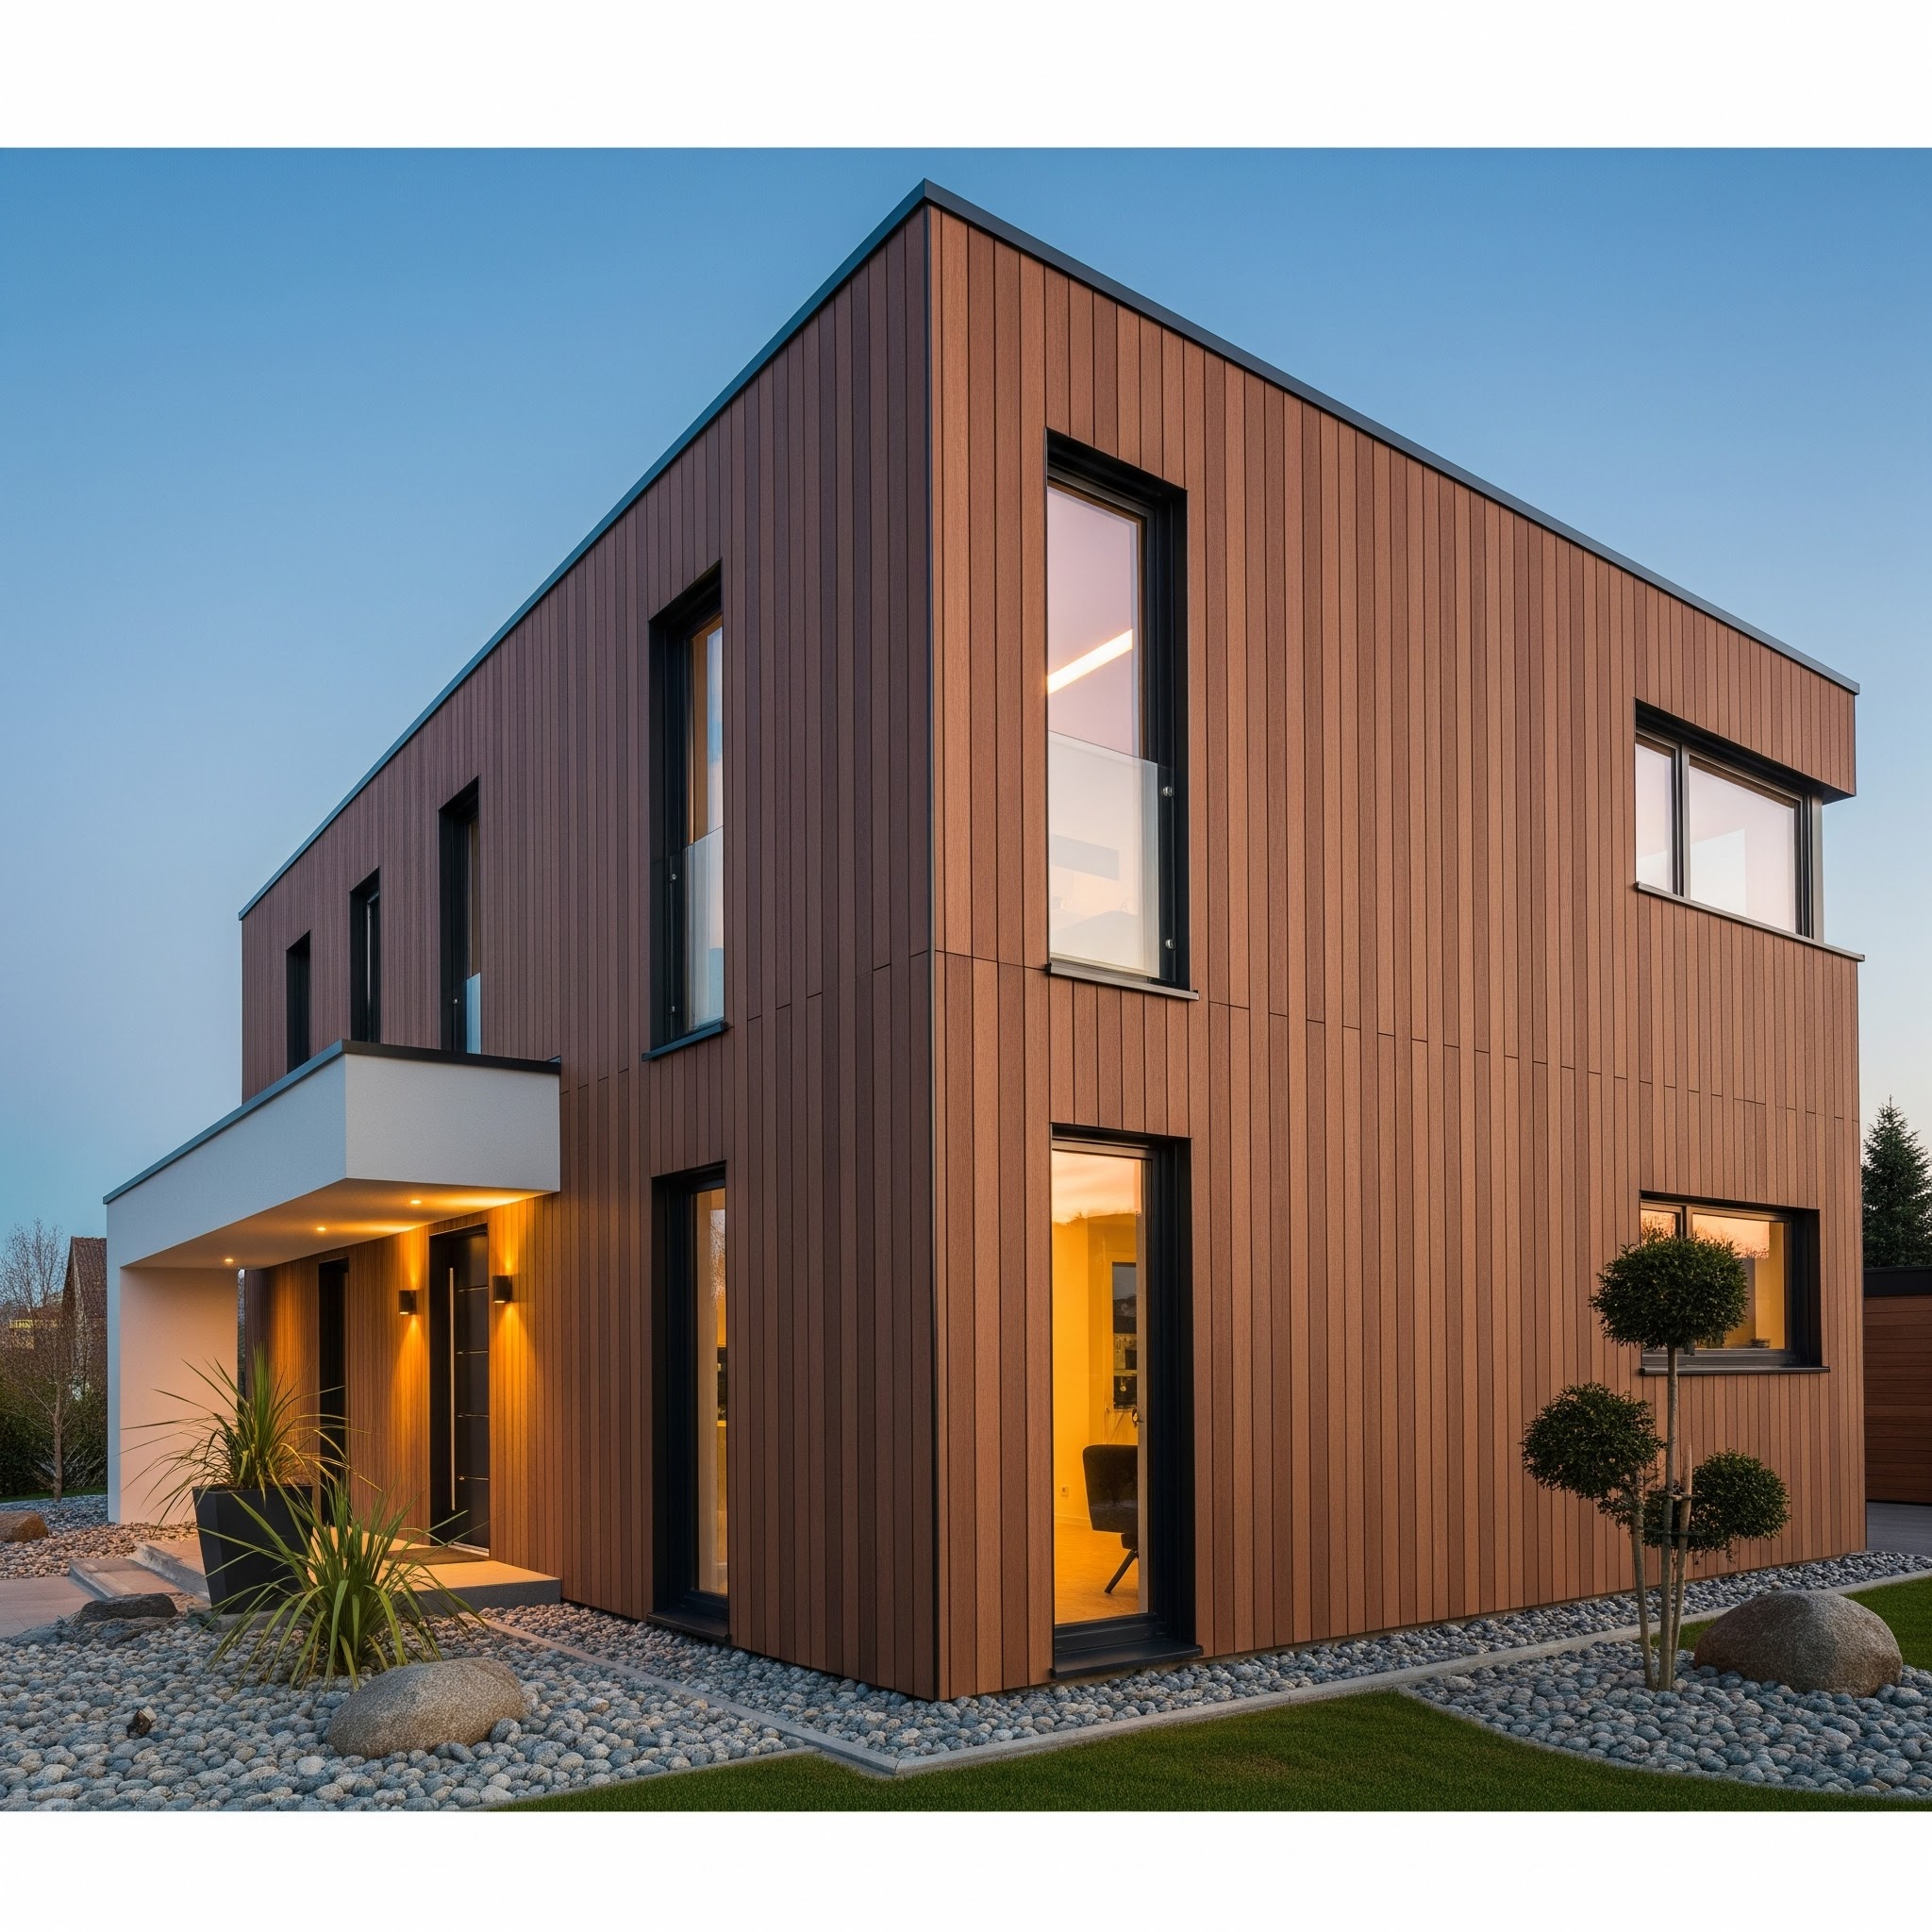
Modern aesthetic
No warping, cracking, or rotting
Long lifespan
Eco-friendly materials
Knowing these advantages helps you choose the right system and installation method.
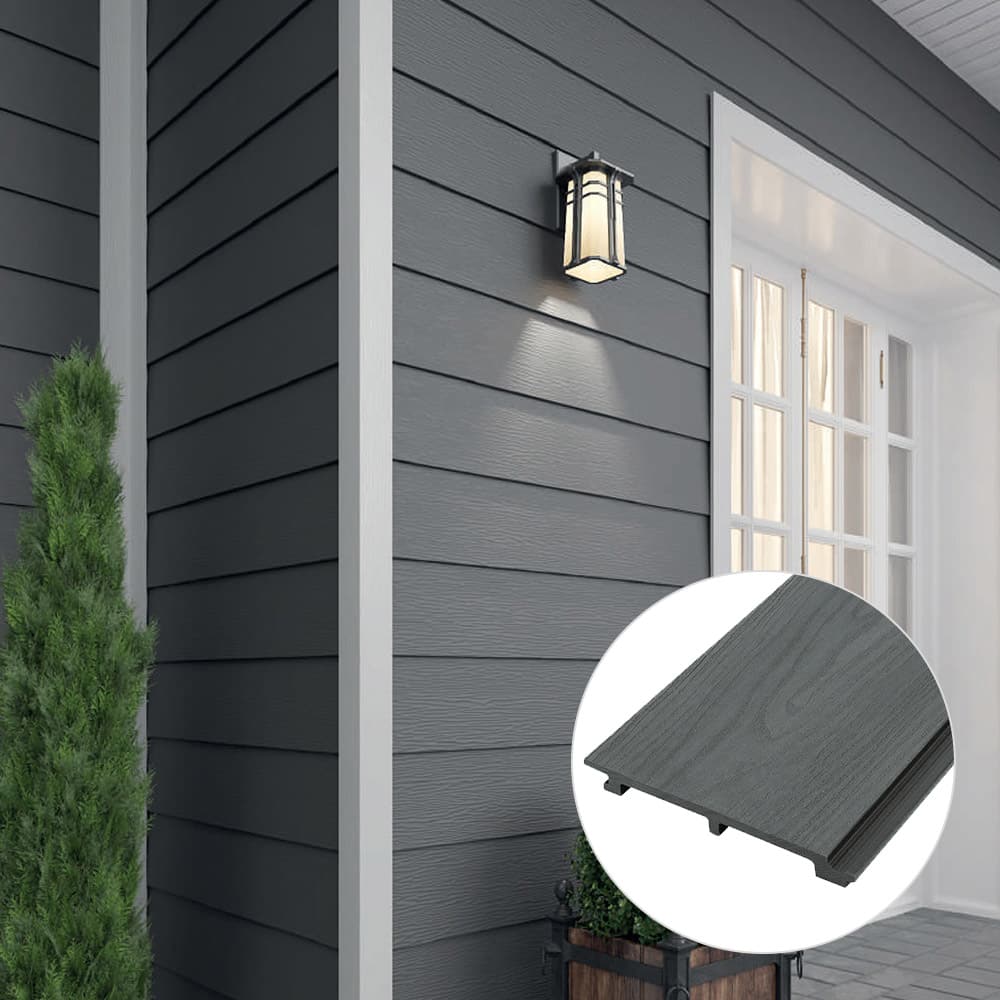
2. Choose the Right Cladding System
Composite cladding comes in different profiles and colors. When planning your project, consider:
✔ Profile types
Hollow or solid boards
Shiplap design
Tongue-and-groove systems
✔ Colors & finishes
Select tones that complement your home’s exterior: woodgrain, matte, or contemporary smooth finishes.
✔ Thickness & durability
Thicker boards offer increased resistance to impacts and weather conditions.
At Hulkwood, we help clients pick the ideal combination to fit their project style and budget.
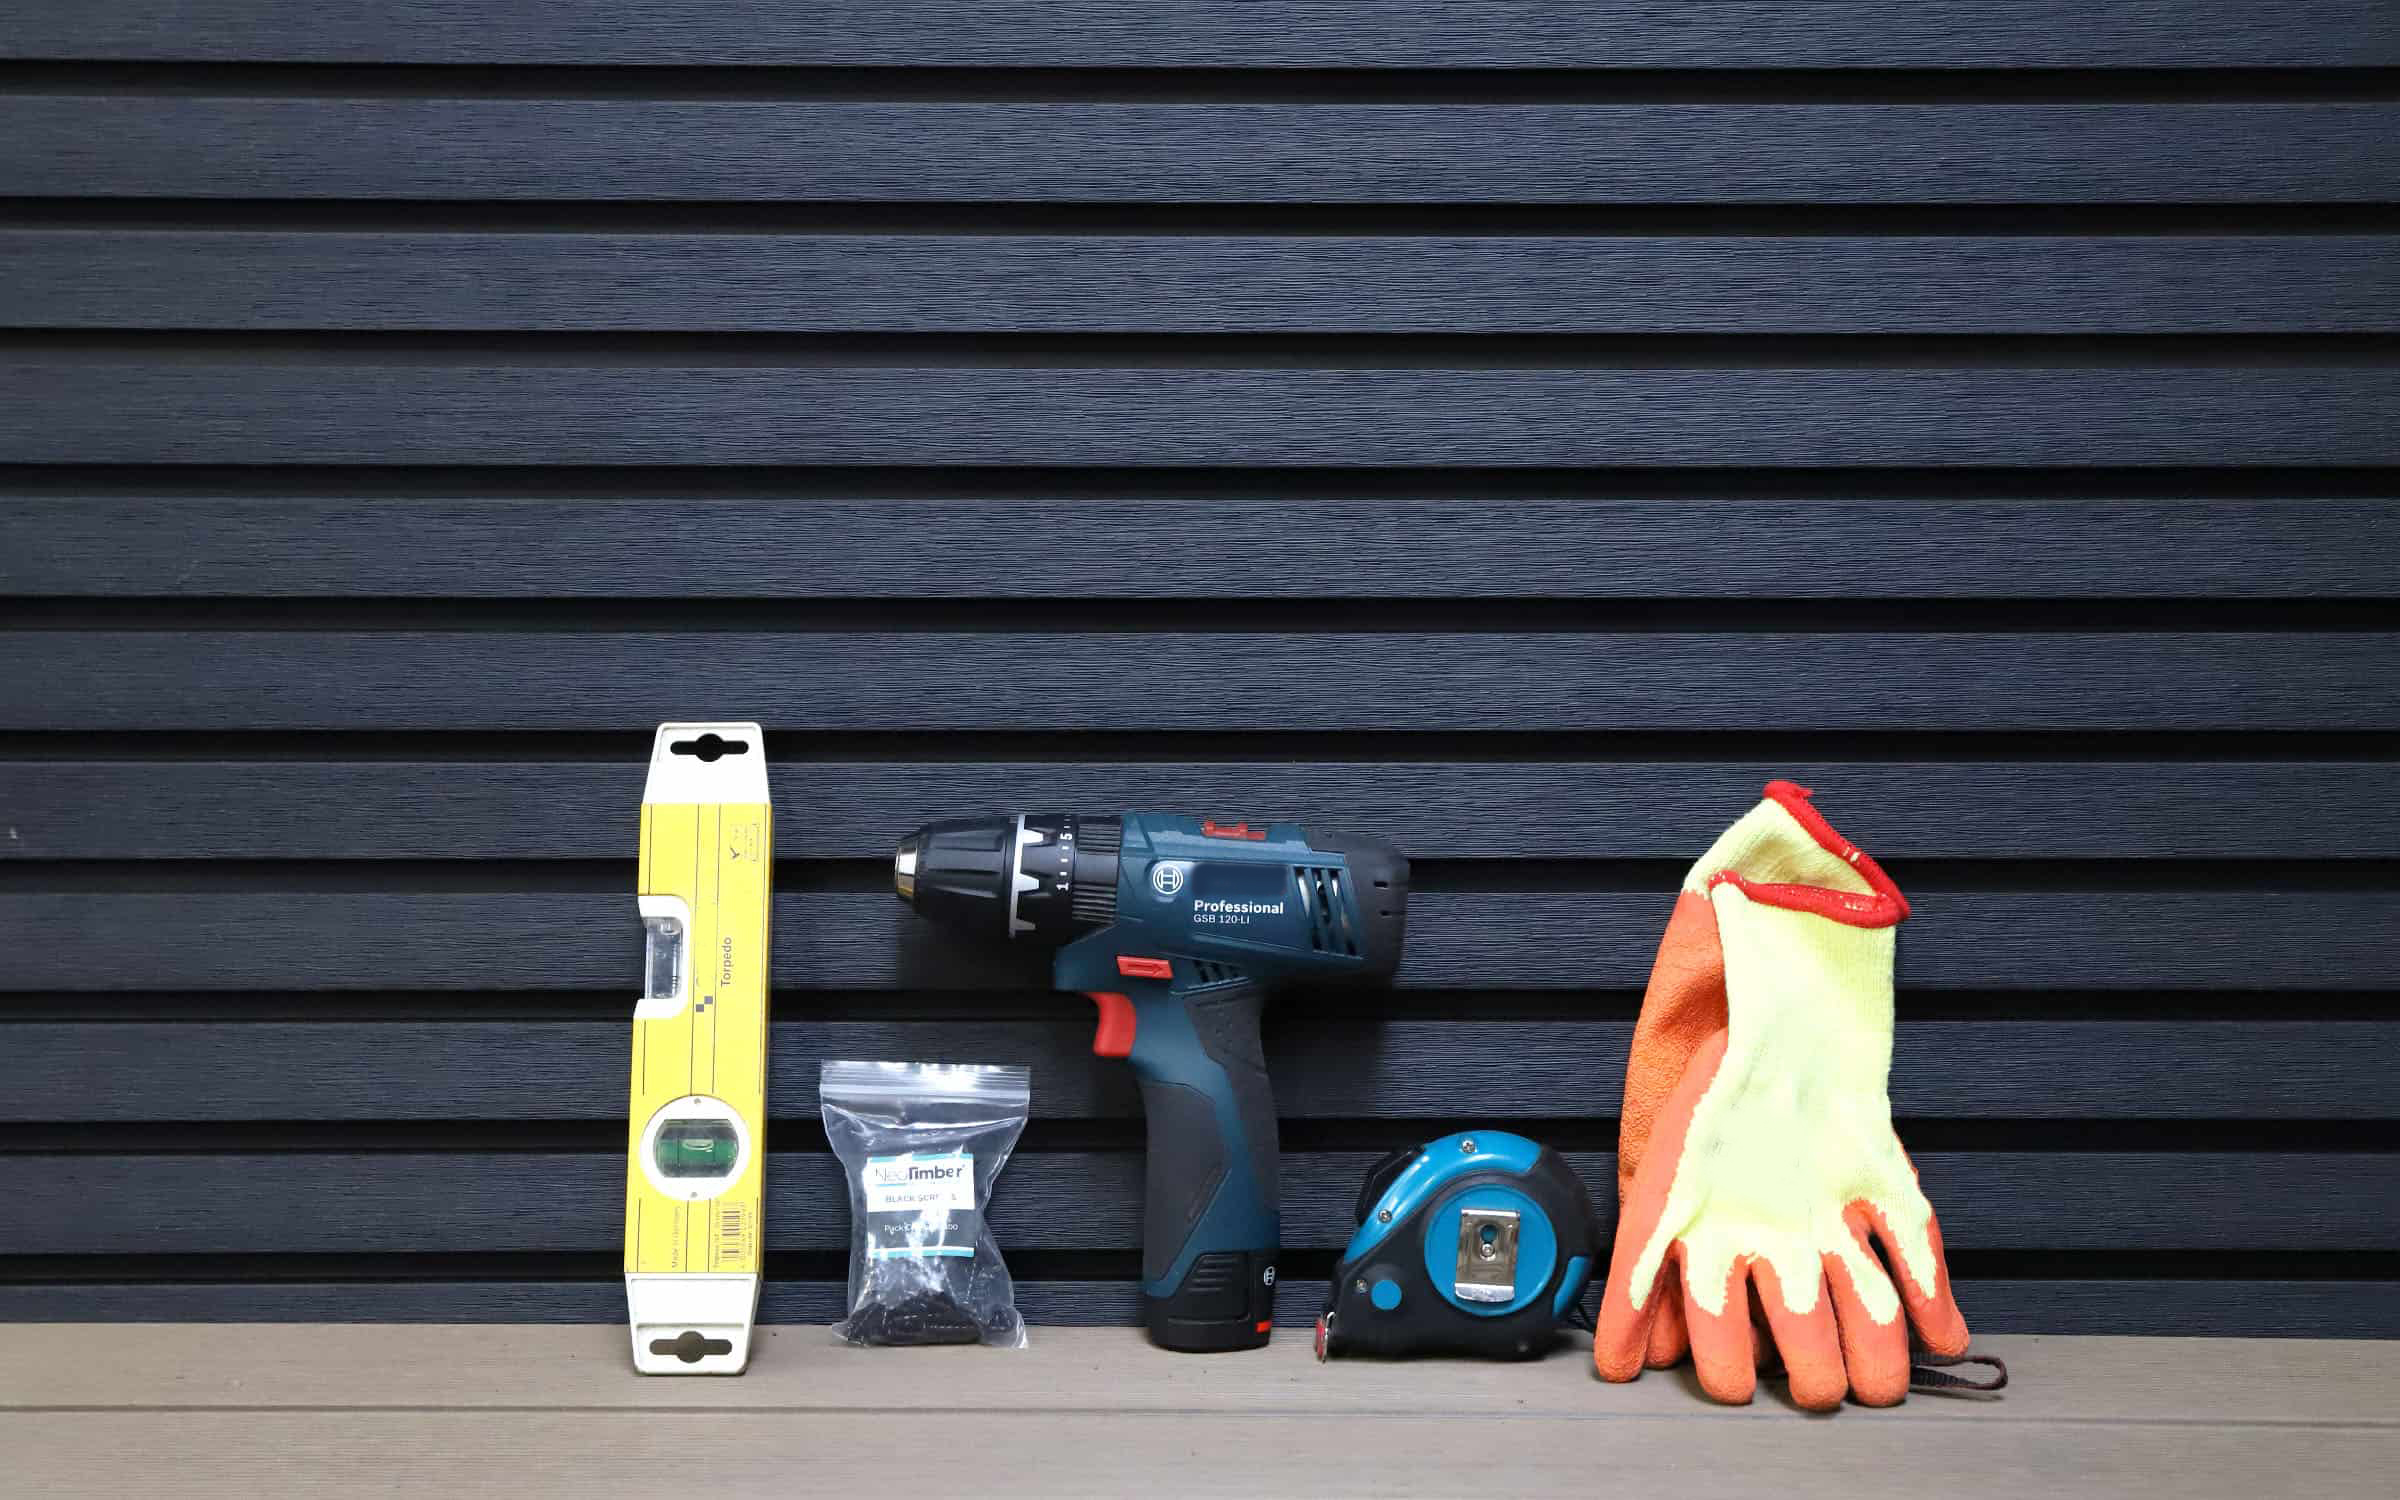
3. Prepare the Surface Before Installation
Proper surface preparation ensures long-term performance:
Remove old cladding or loose materials
Ensure the wall structure is stable
Install a suitable sub-frame structure (wood or aluminum)
Verify that the wall is clean and dry
Plan for ventilation and drainage gaps
A stable and clean base is key to avoiding installation problems.
4. Install an Efficient Sub-Frame System
The sub-frame supports your cladding boards. You can use:
Aluminum battens for maximum durability
Pressure-treated timber as a budget option
Make sure battens are:
Level
Evenly spaced
Securely fixed
Installed vertically or horizontally depending on board direction
This ensures your cladding lies flat and looks flawless.
5. Leave Proper Expansion Gaps
Composite material naturally expands and contracts with temperature changes. During installation:
Leave expansion gaps between boards
Maintain a gap between the boards and fixed structures
Follow the manufacturer’s recommended spacing
This prevents warping or pressure build-up over time.
6. Use Stainless Steel Screws or Hidden Fasteners
For best results:
Use rust-proof stainless steel screws
Opt for hidden fastener systems for a clean, seamless look
Avoid over-tightening the screws
Proper fastening ensures long-term stability and visual appeal.
7. Ensure Proper Ventilation
A ventilated façade system improves insulation, prevents moisture buildup, and helps the building “breathe.” Make sure to:
Maintain airflow behind the boards
Leave an air gap between cladding and insulation
Install ventilation openings at top and bottom
This extends the life of your cladding and your wall structure.
8. Finishing Touches Matter
Once the boards are installed, add finishing accessories:
Corner trims
Starter profiles
Edge trims
Joint covers
These components complete the look and protect vulnerable areas from moisture.
9. Maintenance After Installation
Composite cladding is famously low maintenance. To keep it looking new:
Clean periodically with soap and water
Avoid abrasive tools
Remove debris from ventilation openings
Inspect screws or trims once per year
No painting, sanding, or staining required — ever.
Final Thoughts
Installing composite cladding is one of the best upgrades you can make for your home. With proper preparation and technique, you’ll enjoy a stylish, durable, and weather-resistant façade for decades.
At Hulkwood, we offer high-quality composite cladding, professional guidance, and installation support to make your project successful from start to finish.